
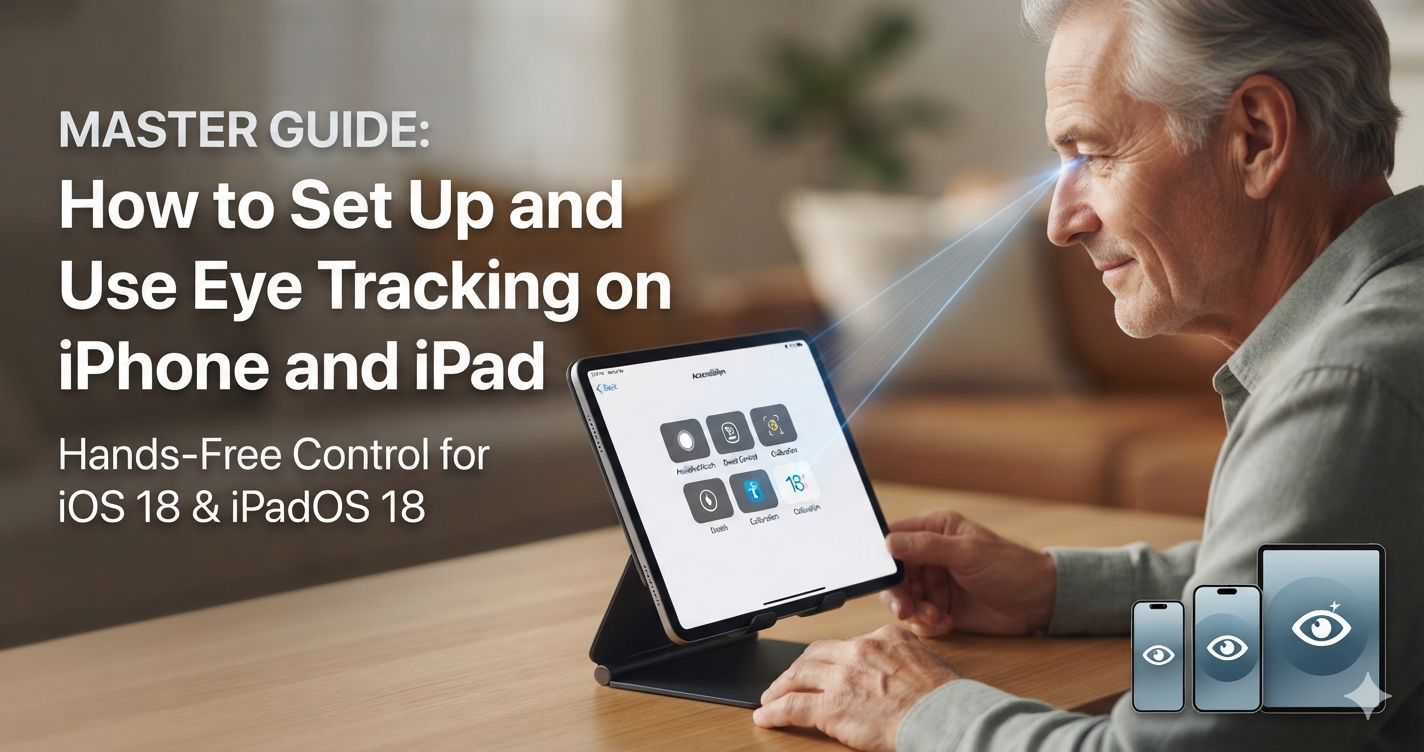
Apple has made it possible to control your iPhone or iPad entirely with your eyes. This powerful accessibility feature uses the front-facing camera and on-device machine learning to track where you are looking, allowing you to navigate your device without touching the screen.
For individuals living with conditions like ALS/MND, stroke, or severe arthritis, this technology is a game-changer. When paired with a web-based communication platform like My Dad's Voice, it opens up a whole new world of independent, dignified communication.
Here is a step-by-step guide to help you set up and master Eye Tracking on your Apple devices.
Compatibility Requirements
Before diving into the setup, ensure your device supports this feature. Eye Tracking requires iOS 18 or iPadOS 18 (or later) and a device equipped with an A12 Bionic chip or newer.
Supported Devices
- iPhone: iPhone 12 series, iPhone 13 series, iPhone 14 series, iPhone 15 series, iPhone 16 series, and newer models.
- iPad: iPad Pro (11-inch 3rd gen or later), iPad Pro (12.9-inch 5th gen or later), iPad Air (3rd gen or later), iPad mini (5th gen or later), and iPad (8th gen or later).
Step 1: How to Enable Eye Tracking
Setting up Eye Tracking only takes a moment. Follow these steps to activate the feature:
- Open the Settings app on your iPhone or iPad.
- Scroll down and tap on Accessibility.
- Under the Physical and Motor section, select Eye Tracking.
- Toggle the switch next to Eye Tracking to the On position.
Step 2: Calibrating the Tracker
As soon as you turn the feature on, you will be prompted to complete a quick calibration process. This teaches your device's camera exactly how your eyes move.
- Hold your device steadily on a stable surface, or mount it securely about 30 to 45 cm (12 to 18 inches) away from your face.
- Ensure you have good, even lighting on your face, avoiding bright background glare.
- Look at the series of dots that appear on the screen.
- Follow the dots with your eyes as they move around the display. Do not move your head; move only your eyes.
- Once the dots disappear, the calibration is complete, and a small cursor will track your gaze.
Step 3: Mastering the Controls
Now that Eye Tracking is active, you can use your eyes to navigate your device using two core concepts:
- Selecting Elements (Dwell Control): To click an item or button, simply look at it and hold your gaze. This action is called Dwell. By default, holding your gaze on a target for a couple of seconds triggers a click.
- The AssistiveTouch Menu: A floating pointer will appear on your screen. Dwelling on this menu button opens a system overlay. From here, you can use your eyes to go to the Home Screen, open the App Switcher, or access Control Centre.
Taking It Further: Eye Tracking + My Dad's Voice
While Apple's native eye tracking is incredible for navigating apps, typing out complex thoughts or quickly calling for help can still feel tiring with standard system keyboards. That is where My Dad's Voice comes in. Because our platform is completely web-based, it runs instantly in your iPad or iPhone's browser and is fully eye-gaze ready without requiring any extra, expensive hardware.
By using iOS Eye Tracking inside My Dad's Voice, users get:
- Large, Dwell-Friendly Targets: Oversized buttons designed specifically for easy selection via eye-gaze, minimizing eye strain.
- Instant Phrases: Permanent YES / NO controls and Quick Help buttons that can be triggered in a single look.
- Predictive Text Typing: A large keyboard designed for quick sentence composition that speaks words aloud using native text-to-speech.
Pro-Tips for Caregivers
- Adjust Dwell Time: If your loved one finds the device is clicking items too quickly before they can read them, go to Settings > Accessibility > Touch > AssistiveTouch and increase the Dwell Time duration.
- Recalibrate Freely: If the user shifts their seating position or the lighting changes, simply head back to the Eye Tracking menu and select Calibrate Again to reset the accuracy.
- Keep the Lens Clear: Ensure the top bezel of the iPhone or iPad (where the front camera sits) is clean and free of smudges so the software can track eye movements smoothly.